
Installing LAMP package is quite easy on Windows machine. All you have to do is download any installer package like WAMP or Xampp and hit the installer button. But if you are working on Linux machine you will do this step by step.
LAMP is acronym for Linux, Apache, Mysql, PHP. A complete set of packages to start development in PHP using MySql on Apache server.
Let’s get started by installing LAMP on Ubuntu machine.
We will begin installing the setup using apt, the download manager for Ubuntu and sudo in our commands will give administrator privileges for seamless installation.
Step 1 – Install Apache
Run the following command to install Apache server –
sudo apt-get install apache2
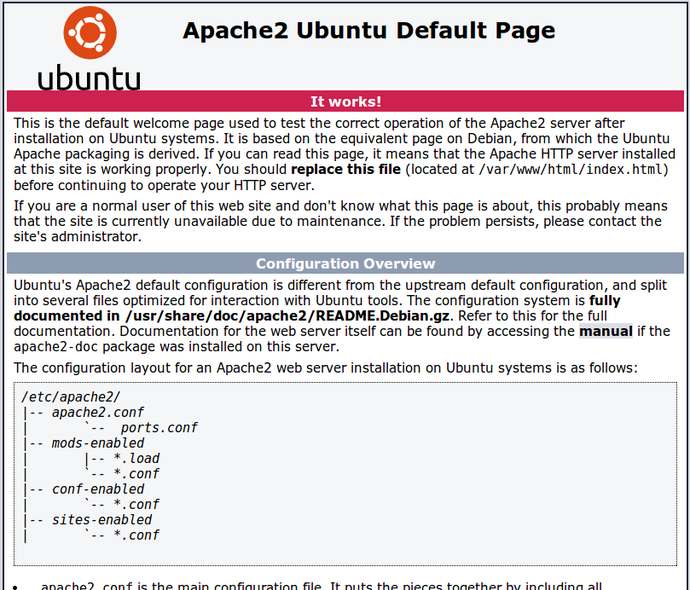
This will install the Apache web server on your machine. To check everything is installed correctly, log on to –
http://localhost
You will see following content-
Step 2 – Install MySql
Run the following command to install MySql –
sudo apt-get install mysql-server
You can set a password for MySql access, it is optional.
Step 3 – Install PHP
sudo apt-get install php libapache2-mod-php php-mcrypt php-mysql
Run this command to install PHP on your Ubuntu machine.
Step 4 – Install PhpMyAdmin
sudo apt-get install phpmyadmin
After that, select Apache2 as the server if prompted, set the password and you are all set.
Now restart your apache server by following command –
sudo service apache2 restart and start using the server.
